[DIY Photo Frames] Desktop vs. Wall Mount Photo Frames: A Complete Guide to Sizing, Placement, and Buying
Foreword
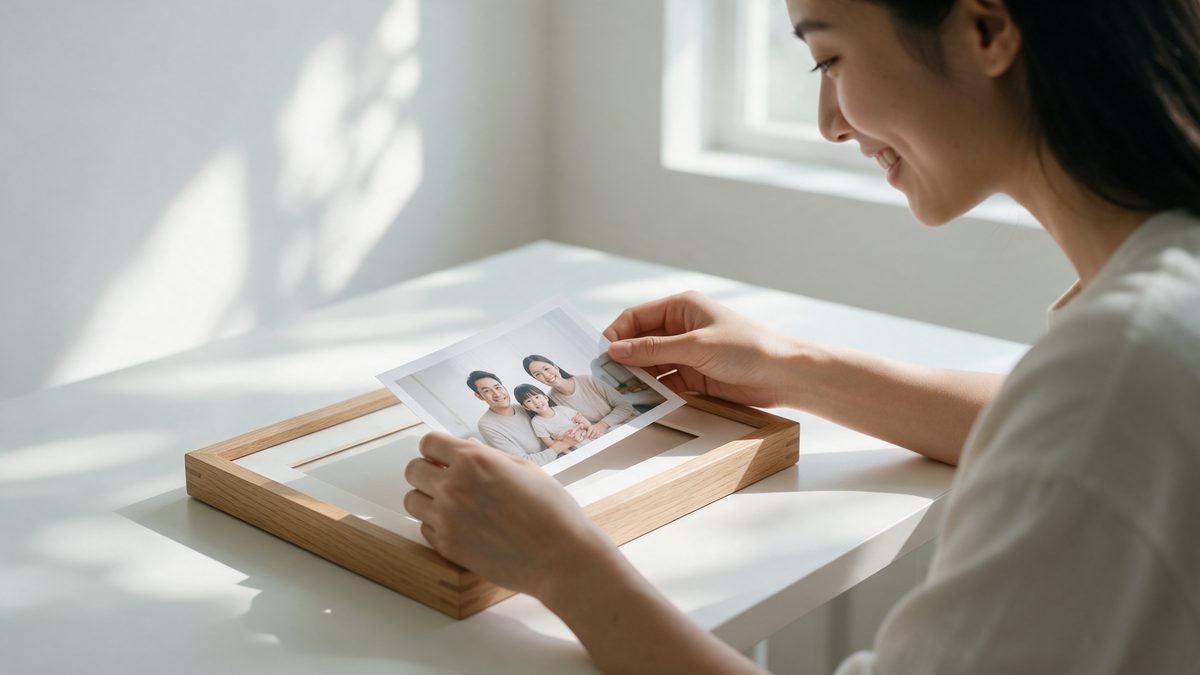
You’ve printed your photos, but they’re still sitting in a paper bag because you haven't found the right frame yet.
DIY framing might seem simple, but there are three common mistakes people make: the frame size doesn't match the photo, the style clashes with the home decor, or the chosen spot simply cannot support the frame. If you want to frame your own photos, the first step isn't buying the frame. It confirms the photo size, the placement, and the frame style. This article will explain the differences between desktop and wall mount photo frames, how frame sizes work, practical placement tips, and how to maintain your frames in Hong Kong’s humid environment.
Buying a frame: If you want to frame your own photos, you can check out the Fotomax photo frame collection to choose the right desktop or wall mount photo frame based on your photo size.
Key Takeaways
- Confirm the photo size first, then pick the frame: If you do it the other way around, 9 times out of 10, it won't fit.
- Desktop vs. Wall Mount: Desktop frames are for desks, nightstands, and shelves. Wall mount photo frames are for walls and serve as the foundation for decorating a room.
- Frame "size" means the photo size: It refers to the size of the photo that fits inside, not the actual outer dimensions of the frame.
- Use a mat: A frame with a mat (the white cardboard border) instantly makes an ordinary photo look much more professional.
- Hong Kong humidity: Keep your frames away from bathrooms, kitchens, and unshaded west-facing windows.
Table of Contents
- What is the difference between desktop and wall mount photo frames?
- How do frame sizes match photo sizes?
- Where should you place desktop frames?
- Practical considerations for wall mount photo frames
- How do you match frame styles with your home?
- What is a photo mat?
- Maintenance tips for Hong Kong's environment
- Frequently Asked Questions (FAQ)
1. What is the difference between desktop and wall mount photo frames?
The difference isn't just how they are displayed, but also their purpose, how often you change the photos, and the type of photos they suit best.
| Feature | Desktop Frames | Wall Mount Photo Frames |
|---|---|---|
| Placement | Desks, nightstands, shelves | Walls |
| Installation | None, ready to use | Requires hooks or nails |
| Common Sizes | Smaller | Larger |
| Photo Swapping | Anytime, very easy | Less frequent |
| Best For | Personal photos, pets, daily life | Family portraits, wedding photos, statement pieces |
| Ideal User | Office workers, renters | Homeowners, long-term decor |
If you are renting: Desktop frames and shelf displays are the most practical choices since they don't leave any marks on the walls.
If you want to decorate an entire wall: Wall mount photo frames are your foundation. For details on gallery wall layouts, hanging heights, and spacing, please refer to our wall décor guide.
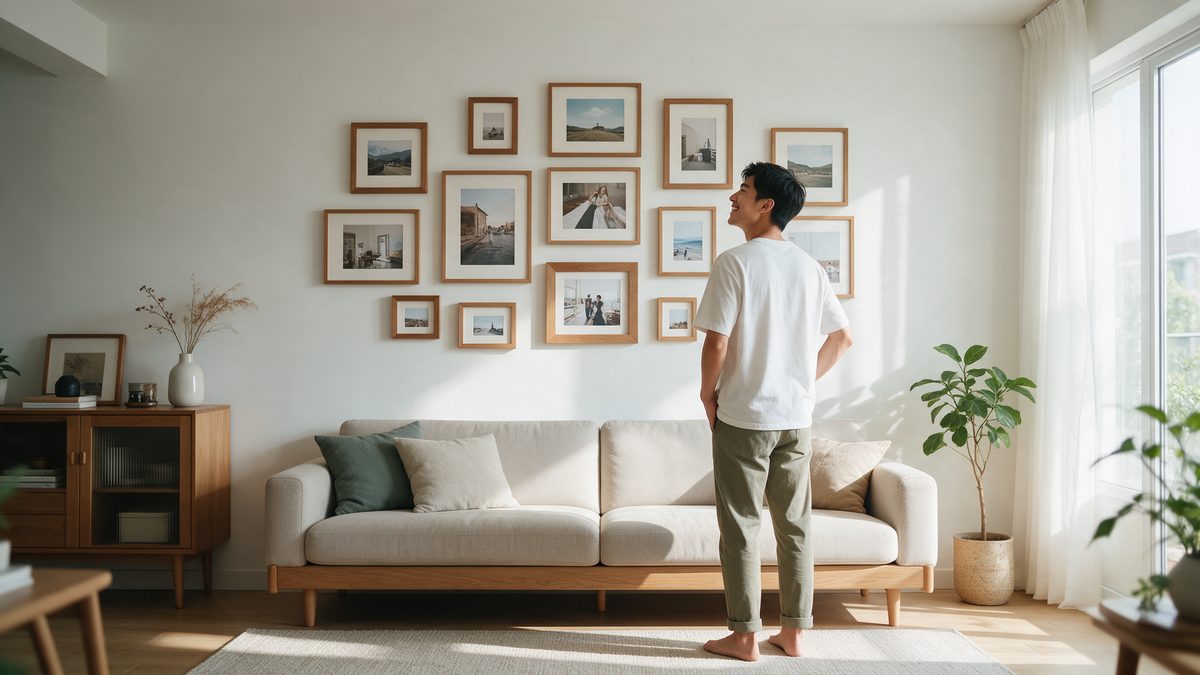
2. How do frame sizes match photo sizes?
Note: The size labeled on a frame refers to the photo size it can hold, not the size of the outer frame.
This is the most common misunderstanding. An "8R frame" means it fits an 8R photo. Once you add the borders, the actual frame will be noticeably larger. Always leave extra room when measuring your display space.
| Photo Size | Actual Size (Approx.) | Common Use | Suitable Frame |
|---|---|---|---|
| 4R | 6″ × 4″ | Most popular | Desktop frame |
| 5R | 7″ × 5″ | Bookshelves, nightstands | Desktop frame |
| 6R | 8″ × 6″ | Small wall displays | Both |
| 8R | 10″ × 8″ | Main wall photo | Wall frame |
When DIY framing, the safest approach is to choose the photo first, decide on the print size, and finally buy the matching frame.
The correct order: Decide placement → Decide photo size → Print photo → Pick frame.
Photo Printing: Please refer to our price list for different print sizes. Original smartphone photos are more than enough for 4R to 6R prints. For larger sizes, it depends on the original file's resolution. Always use the original file from your photo album, not compressed versions from messaging apps.
3. Where should you place desktop frames?
Here are four common spots and what to consider for each:
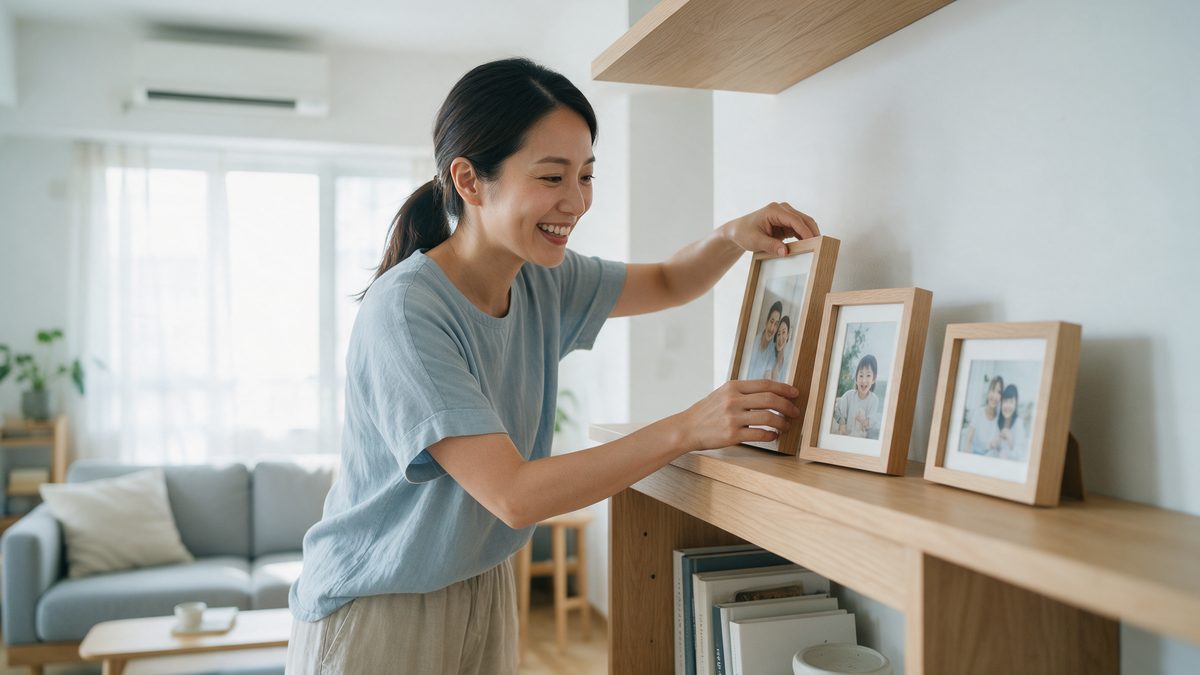
- Office Desk: Keep the size small (4R or 5R) to avoid taking up workspace. Best for photos of family, pets, or partners.
- Nightstand: Space is limited, so one or two frames are ideal. Avoid placing them where the glass reflects your bedside lamp.
- Living Room Shelves: You can line up multiple frames. Mixing different sizes creates more visual depth than using all identical sizes.
- Entryway: The first thing you see when you walk in. Perfect for a family portrait.
Placement Tip: When placing three frames together, don't make them the exact same height. Staggering tall, medium, and short frames looks much more natural visually.
4. Practical considerations for wall mount photo frames
Before hanging anything, confirm two things: your wall structure and the hanging height.
- Wall Structure: Concrete walls require a power drill, while brick or drywall have different methods. If you are renting or can't drill, consider adhesive hooks (check the weight limit) or use picture ledges instead.
- Height: The center of the photo should be about 145–150cm from the floor, which is standard standing eye level. This is the museum and gallery standard, and the step where most people hang things too high.
- Relationship with Furniture: When hanging above a sofa or bed, leave about 15–25cm between the top of the furniture and the bottom of the frame so they look like a connected set.
Before you drill: Cut a piece of newspaper to the size of the frame and tape it to the wall. Sit down and look at it for a few days before deciding where to drill.
5. How do you match frame styles with your home?
Follow these three rules: match your furniture's color palette, use light colors for small flats, and keep gallery walls uniform.
- Match the Furniture: Pair wooden floors and furniture with natural wood frames; pair dark furniture with dark or metal frames. The frames don't have to be the exact same color as the furniture, just in the same color family.
- Light Colors for Small Flats: White and natural wood frames look visually lighter than dark ones. This effect is especially obvious in small Hong Kong apartments.
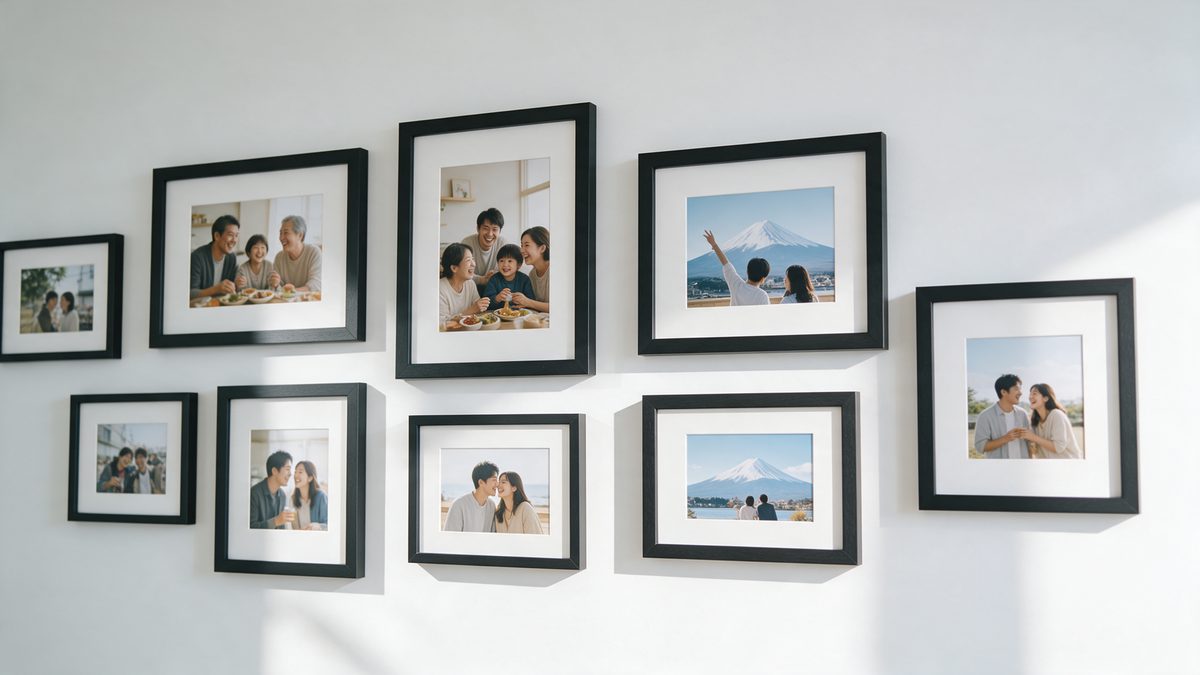
- Uniformity for Multi-Frame Displays: Keep the frame styles and colors consistent, but feel free to mix black-and-white and color photos inside. The frames should be uniform, not necessarily the content.
- Don't Let the Frame Steal the Show: The photo is the main character. The simpler the frame, the longer you will love it.
6. What is a photo mat?
A mat (or mat board) is the thick cardboard border that leaves a blank space between the photo and the outer frame. Its job is to draw your eyes directly to the photo.
Adding a mat is the cheapest way to make an ordinary photo look significantly more professional. Usually, the mat leaves a 20–40mm border on each side. The smaller the photo, the larger the mat proportion can be.
Note: For frames that include a mat, the photo size it can hold will be one size smaller than the outer frame. When buying, always check whether the label refers to the photo size or the frame size.
7. Maintenance tips for Hong Kong's environment
- Avoid Humid Spots: Areas right outside the bathroom, near the kitchen, or in rooms without dehumidifiers can easily cause photos to wrinkle or grow mold.
- Avoid Direct Sunlight: Photos placed near unshaded west-facing windows will fade, and this damage is irreversible.
- Cleaning the Glass: Wipe with a slightly damp, soft cloth. Never spray cleaner directly onto the glass, as it can seep into the edges and ruin the photo.
- Check Regularly: Open the frame once every six months to make sure the photo hasn't stuck to the glass—this is a very common issue in humid environments.
- Digital Backups for Important Photos: Physical items age, but digital files don't. Always scan and save old photos first.
Frequently Asked Questions (FAQ)
Q1. Should I choose a desktop or wall frame for DIY framing?
It depends on where you want to put it. Desks, nightstands, and shelves are best for desktop frames. Family portraits, wedding photos, or larger prints are better suited for wall mount photo frames. Available styles, sizes, and prices are subject to Fotomax's details at the time of ordering.
Q2. Does the size on the frame refer to the outer frame or the photo?
It generally refers to the photo size that fits inside. Always confirm this before buying and remember to leave extra wall space for the outer frame.
Q3. What if my photo size doesn't fit the frame?
You can use a mat to fill the gap or simply reprint the photo in the correct size. Cropping up the photo might cut out important subjects, so it shouldn't be your first choice.
Q4. Are phone photos clear enough to print?
Yes. Original phone photos are more than enough for 4R to 6R prints. Larger sizes depend on the original file's resolution. Always use the original file from your phone's photo album.
Q5. Can I hang wall mount photo frames without drilling?
Yes, depending on the weight. Light frames can be hung with adhesive hooks (always check the weight limit). For heavier frames, it is highly recommended to use picture ledges or drill into the wall.
Q6. Can old photos be reprinted and framed?
Yes, you just need to scan them to digitize them first, and then you can print new copies.
Q7. Will photos fade over time?
Yes, especially if exposed to direct sunlight for long periods. Avoid placing them near west-facing windows and always keep digital backups of important photos.
A Whisper from the Fotomax Editor
We’ve seen many customers print their photos and leave them in a bag for months because they are waiting to find the "perfect" frame.
Actually, the whole point of a frame is to let the photo be seen. Just put it in a simple frame and hang it up first. You can always change it later. A photo left in a bag is the real waste.